
This article contains affiliate links. We may earn a commission if you buy through them, at no extra cost to you.
Plant-Based Meal Prep Containers and Storage: What to Look For Before You Buy
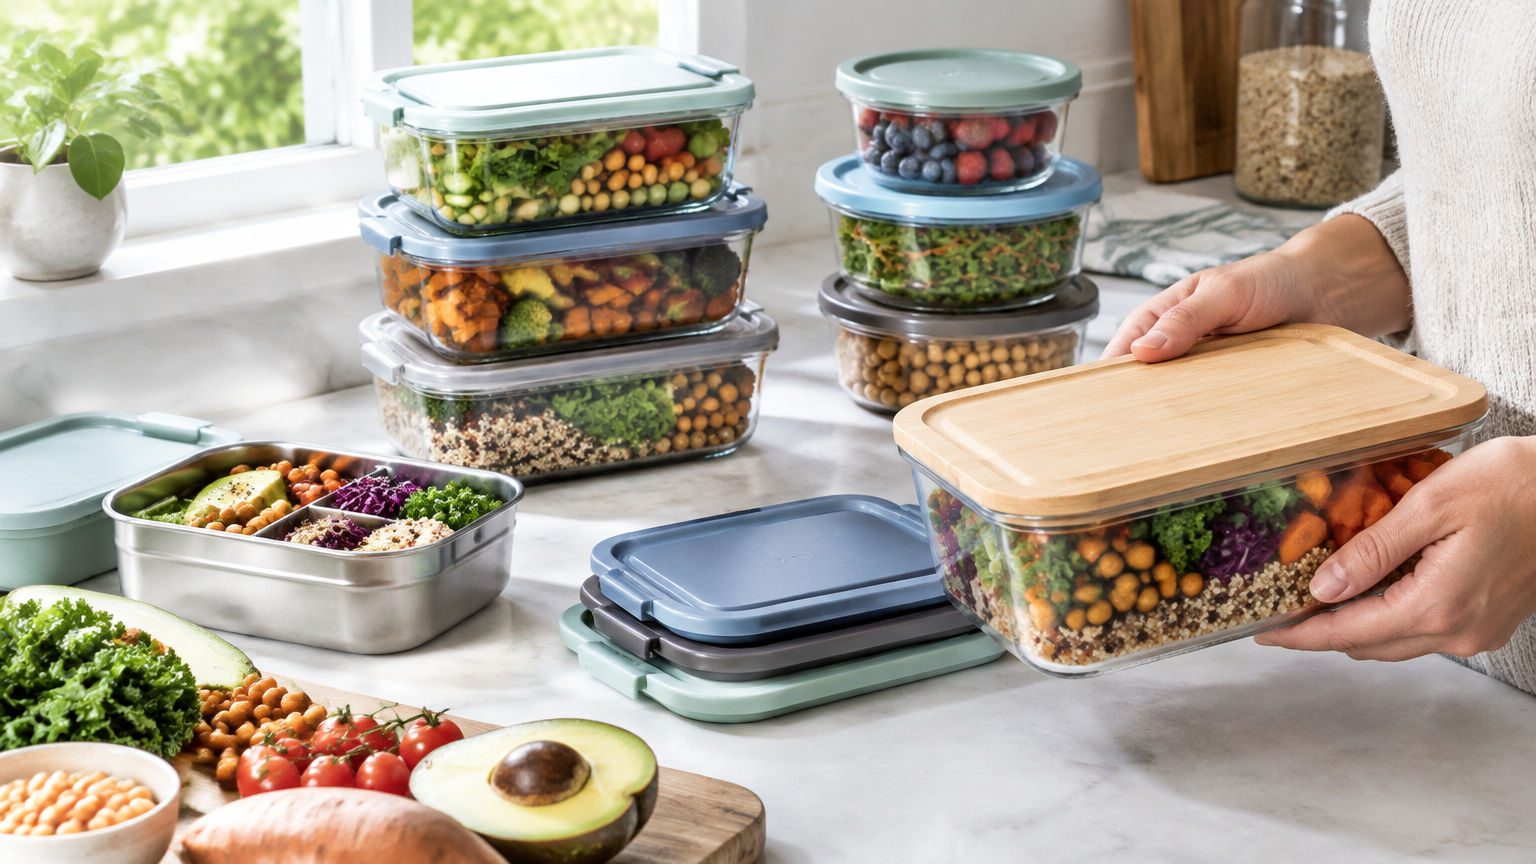
Direct answer: The best meal prep containers for plant based meals are the ones that match how you cook, reheat, and store your food. Prioritize material (glass or plastic), a size that fits your portions, a lid seal suited to saucy or wet foods, confirmed microwave and freezer compatibility, and a shape that stacks well in your fridge. Then choose container types by component, because grains, beans, sauces, and roasted vegetables each have different needs.
Key Takeaways
- Neither glass nor plastic is universally better. Choose based on whether you mostly reheat at home or carry meals daily.
- Buy a mix of sizes instead of one size for everything.
- Lid seal quality matters most for sauces, soups, and cooked beans in liquid.
- Check the label for the base and the lid separately. They often have different ratings.
- Test one or two containers before committing to a full set.
Quick Buying Checklist
Use this table as a starting point. Each row is expanded in the sections below.
| Feature | What to check | Why it matters |
|---|---|---|
| Material | Glass or plastic, based on your routine | Affects weight, staining, and durability |
| Size and portion fit | Capacity and depth versus your typical portions | Prevents overfilled or half-empty containers |
| Lid type and seal | Snap-lock, silicone gasket, vented, or press-on | Determines leak resistance and reheating ease |
| Compatibility labels | Microwave, freezer, dishwasher, oven | Avoids damage and misuse |
| Stackability | Uniform shapes, nesting when empty | Saves fridge, freezer, and cabinet space |
| Cleaning | Stain and odor concerns, removable gaskets | Affects long-term use |
| Quantity | Enough for your prep schedule | Avoids running short mid-week |
Material: Glass vs. Plastic
Glass
Pros
- Generally resists staining and odors, which is useful with turmeric, tomato, and curry-based dishes.
- Easy to see contents at a glance.
- Often oven-safe, but only if the manufacturer says so.
Cons
- Heavier to carry.
- Can chip or break.
- The lid may be a different material, such as plastic, so check the lid's ratings separately.
Plastic
Pros
- Lightweight and portable.
- Usually less breakable, which helps for commuting or travel.
Cons
- May stain or hold odors, especially after tomato sauces and spice-heavy dishes.
- Ratings vary, so check the label for microwave, freezer, and dishwasher use.
How to Decide
- Mostly reheating at home or at an office with a microwave: glass may suit you well.
- Carrying meals daily or packing for travel: lightweight plastic may suit you better.
- Always check manufacturer labels for temperature limits and care instructions.
- If BPA-free labeling matters to you, look for it and verify it on the specific product rather than assuming. [VERIFY on each product's packaging or listing]
If you're leaning toward glass, you can compare glass meal prep container sets and check each listing for lid material and compatibility details.
Size and Portion Fit
Common Size Considerations
- Single-compartment vs. multi-compartment. Single compartments are flexible for bowls and batch storage. Multi-compartment designs keep components separate.
- Full meal vs. single component. Decide whether each container holds a complete meal or just one prepped ingredient.
- Depth. Deeper containers suit bowls, stews, and beans. Shallow trays suit roasted vegetables.
Practical Steps
1. Decide how many meals you prep per week. This sets your minimum container count. 2. Measure a typical portion of grains, beans, and vegetables. Fill a measuring cup or scoop and pour it into a candidate container to see how it fits. 3. Choose a mix of sizes rather than all one size. A few larger containers and several smaller ones cover most needs. 4. Leave headspace for foods that expand when frozen, such as soups and cooked beans in liquid.
Practical example: Say you prep four lunches a week, each with a grain, a bean dish, and roasted vegetables. You might choose four medium containers for assembled meals, plus two or three small ones for sauces. If you also batch-cook grains for the freezer, add a few shallow, freezer-labeled containers.
Lid Seals and Leak Resistance
Lid Types
- Snap-lock lids clamp down on all sides and generally suit liquids.
- Silicone-gasket lids add a flexible seal around the rim.
- Vented lids let steam escape during reheating.
- Simple press-on lids are convenient for dry or low-moisture foods but may not suit sauces.
Match the Lid to the Use
- Use tight seals for sauces, soups, and dressings.
- Use vented lids for reheating.
- Check whether gaskets are removable for cleaning. Trapped residue is a common problem.
- Test new containers with water before packing sauces. Fill, seal, turn upside down over a sink, and shake gently.
- Confirm that lids are microwave- and freezer-safe, not just the base.
Microwave, Freezer, and Dishwasher Compatibility
What to Verify on the Label
- Microwave-safe for both base and lid
- Freezer-safe
- Dishwasher-safe (top rack only, if specified)
- Oven-safe, if you plan to bake or reheat in the oven
Don't assume that one rating covers another. A container can be microwave-safe but not freezer-safe, or the base can be rated for the oven while the lid is not. If a label is unclear or missing, treat the rating as unconfirmed. [VERIFY with the manufacturer]
Practical Tips
- Cool food before sealing and freezing. Hot food sealed in a container can create condensation.
- Avoid sudden temperature changes with glass unless the manufacturer states it's safe.
- Vent lids when microwaving, by opening a vent or resting the lid loosely on top, as the instructions direct.
Stackability and Storage
Containers spend more time in your fridge, freezer, and cabinets than in your hands. Consider the following:
- Uniform shapes such as square or rectangular tend to use fridge space efficiently.
- Nesting containers save cabinet space when empty.
- Lids that fit multiple sizes simplify organization and reduce the hunt for matching pieces.
- Flat, stackable containers help with freezer organization.
- Clear sides or lids make contents easy to identify.
- Label with dates using tape and a marker, or a dry-erase option if the surface allows.
Before you buy, measure the shelf height and depth in your fridge and freezer. A container that looks compact online may not fit a crowded shelf.
Match Container Types to Prepped Components
Different foods behave differently in storage. Here's how to match them.
Grains (rice, quinoa, farro)
- Medium, shallow containers cool faster and portion easily.
- Freezer-safe options work well for batch freezing in meal-sized portions.
Beans and Legumes
- Deeper containers with tight lids suit beans, especially when stored with liquid.
- Leave headspace if you plan to freeze them.
Sauces, Dressings, and Soups
- Small leak-resistant containers or jars with secure seals work well.
- Freezer-safe, with expansion room, if you'll freeze them.
For sauces and dressings, a set of small leak-resistant sauce containers can be a useful add-on to your main set. Check the lid ratings before buying.
Roasted Vegetables
- Shallow, vented or loosely sealed containers help limit sogginess.
- Separate compartments, or storing them apart from sauces, keeps textures better.
Fresh Items (greens, cut fruit, toppings)
- Separate compartments or small containers keep ingredients from getting wet or wilting.
Assembled Bowls
- Multi-compartment containers, or layered storage with sauce kept separate, let you build bowls without everything blending together.
Practical example: For a grain bowl, store the grain in one compartment, roasted vegetables in another, and beans in a third, with a small sauce container alongside. At mealtime, combine them and reheat the parts that need it. Add fresh greens afterward.
Cleaning, Stains, and Odors
- Tomato, turmeric, and curry-based foods may stain some plastics.
- Removable gaskets help prevent trapped residue.
- Check whether the material is dishwasher-safe, and whether lids and gaskets need hand-washing.
If you cook with a lot of tomato or spice, this may push you toward glass for those dishes, or toward dedicating certain plastic containers to less-staining foods.
For more on prepping the components themselves, see this guide to batch-cooking plant-based staples.
How to Build Your Starter Set
1. List your weekly prep components. Write down the grains, beans, sauces, and vegetables you prepare most often. 2. Pick a primary material. Choose glass, plastic, or a deliberate mix. 3. Choose 2–3 sizes. Cover assembled meals, single components, and shallow roasting-tray storage. 4. Add small sauce containers. Dressings and sauces benefit from dedicated, leak-resistant options. 5. Verify label claims. Check microwave, freezer, dishwasher, and oven ratings for both bases and lids. 6. Test before buying a full set. Try one or two pieces for sealing, stacking, and reheating, then expand.
FAQs
Are glass or plastic meal prep containers better for plant-based meals?
Neither is universally better. Glass suits home reheating and stain resistance, while plastic suits portability. Base the choice on your routine and the product's labeling.
Can I freeze beans, grains, and sauces in meal prep containers?
Many of these foods freeze well, but only in containers labeled freezer-safe. Cool food first and leave headspace for liquids.
How do I keep roasted vegetables from getting soggy in storage?
Cool them before sealing, use a shallow container, and store sauces separately. Consider a vented lid for reheating.
Conclusion: Final Pre-Purchase Checklist
Choosing meal prep containers for plant based meals comes down to matching features to your actual routine, not to a single "best" option. Before you check out, confirm the following:
- [ ] Material fits your routine
- [ ] Sizes match your portions
- [ ] Lids seal as needed
- [ ] Microwave, freezer, and dishwasher labels confirmed
- [ ] Containers stack and fit your fridge
- [ ] Each component has a suitable container type
Start small, test the seals and reheating on a couple of pieces, and build out your set once you know what works for your kitchen.